Quick Links
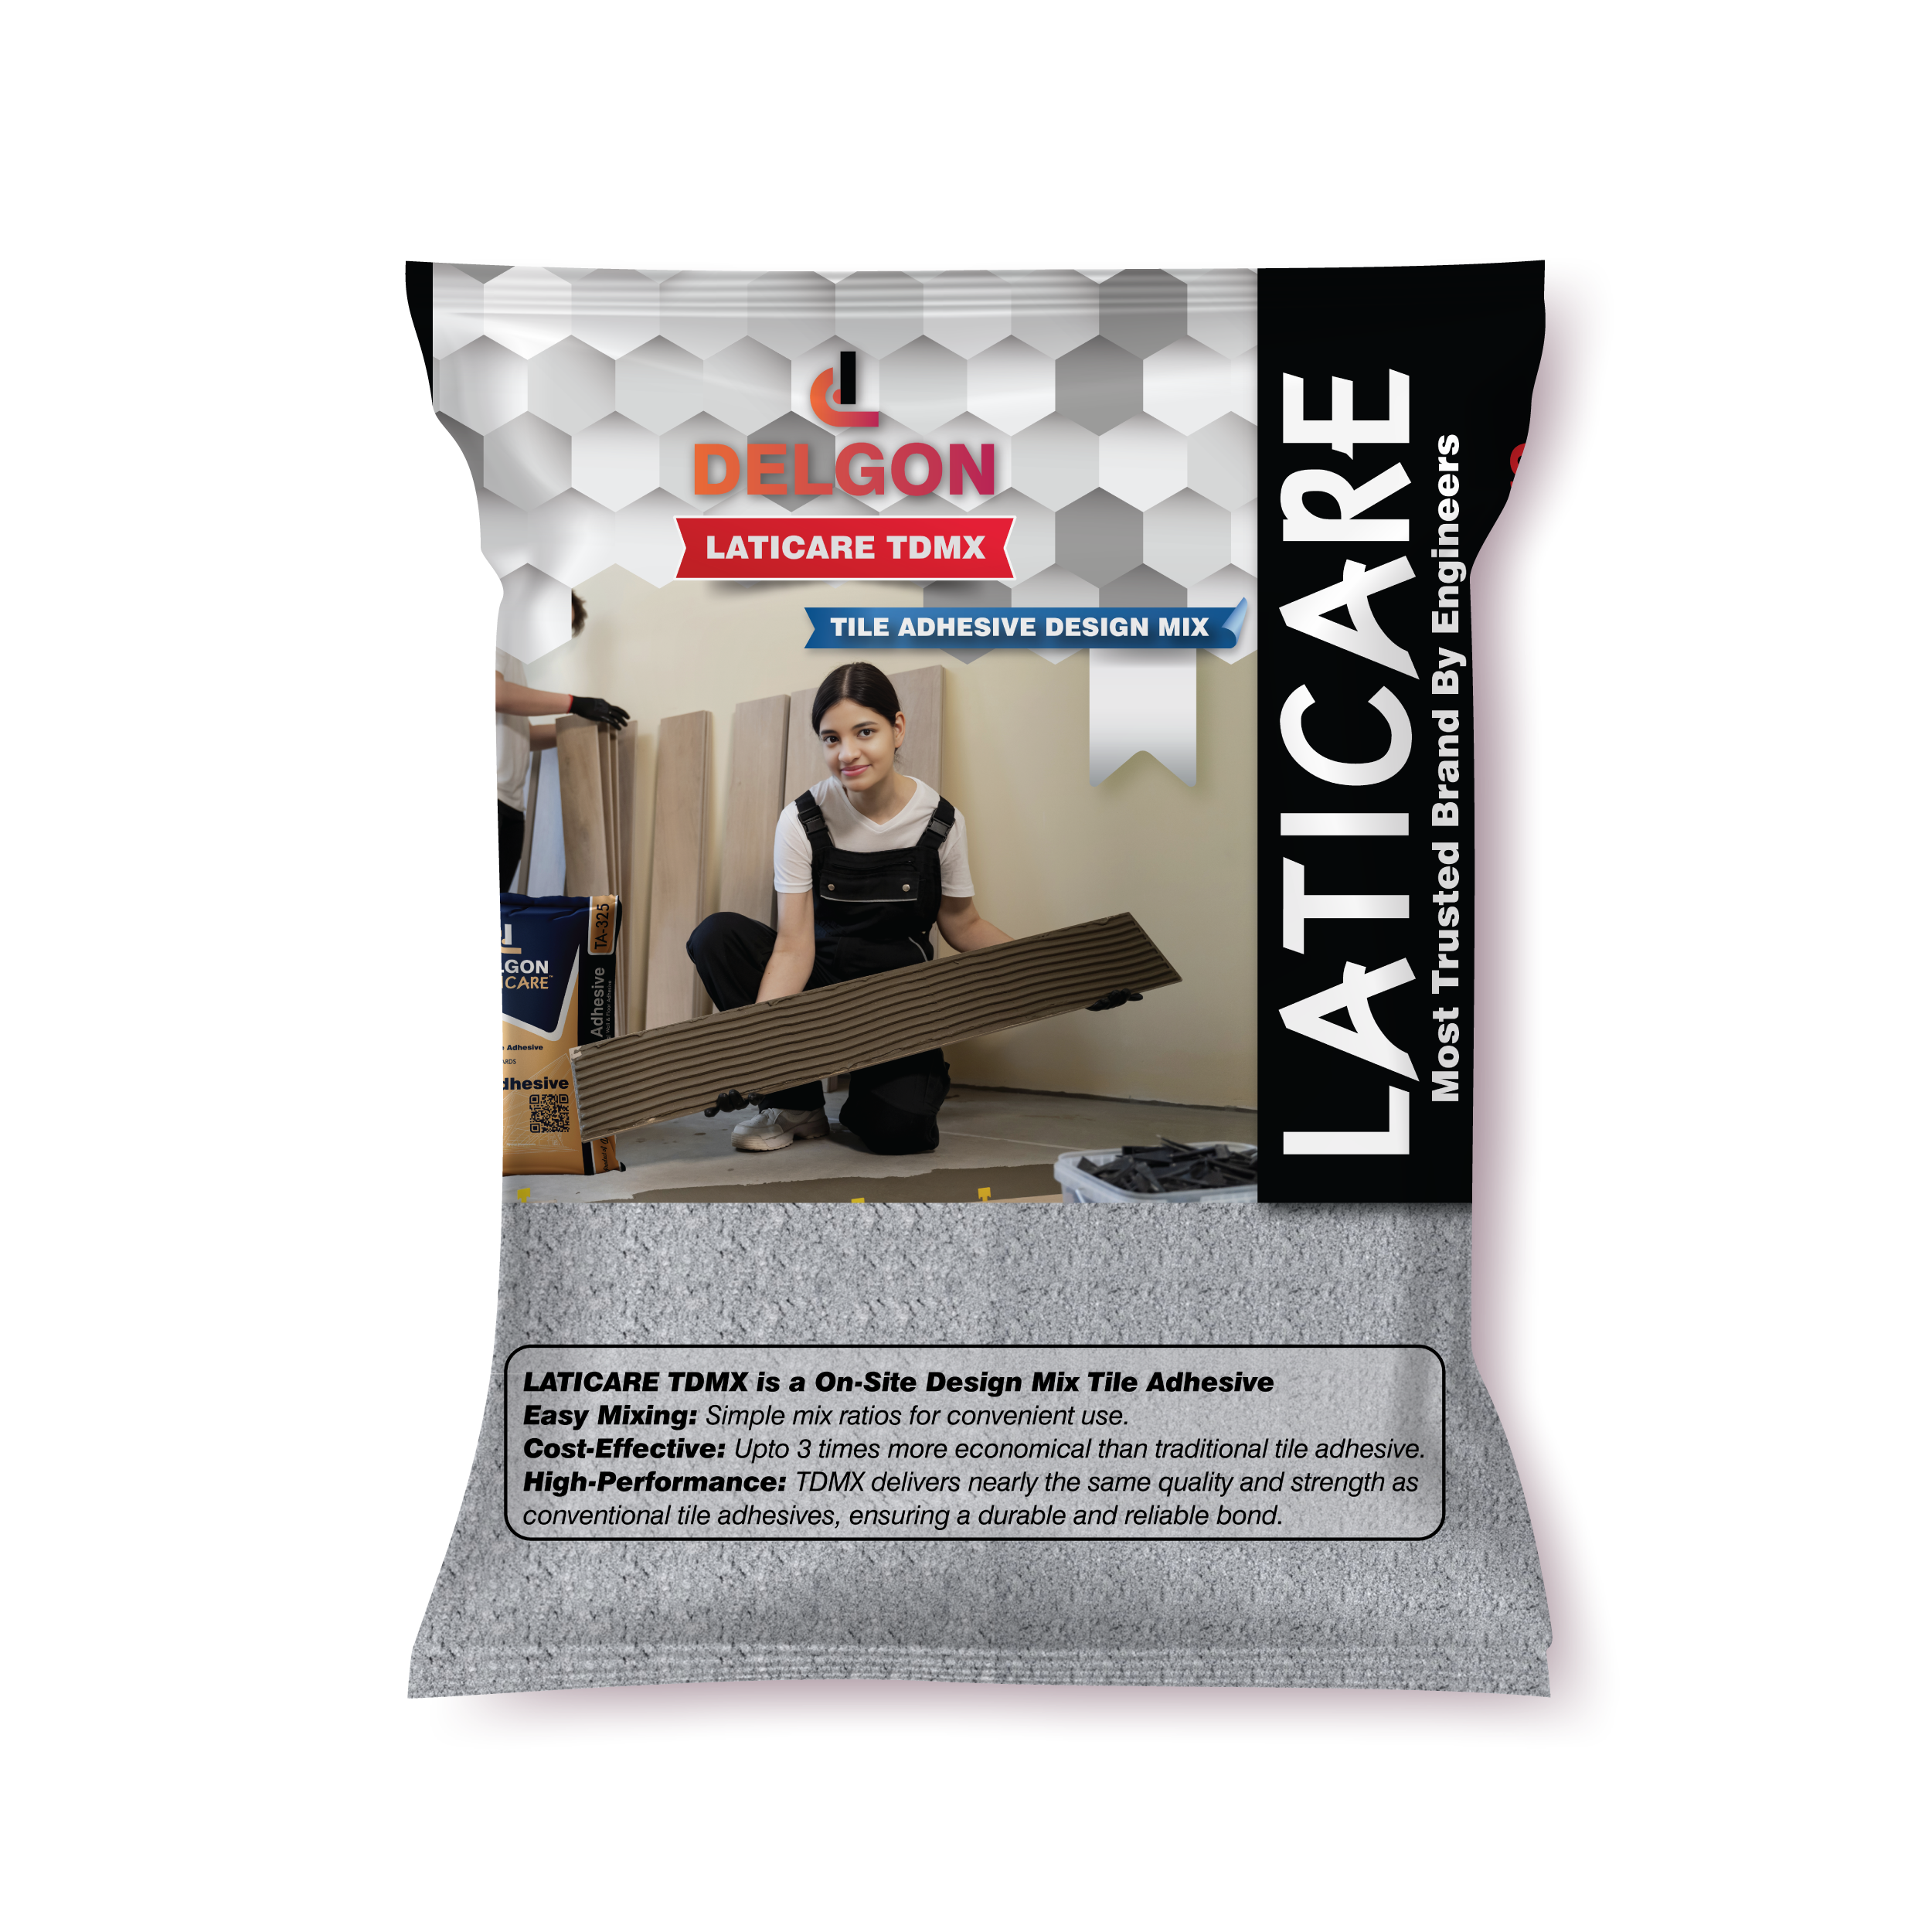
- Advantages Of TDMX Tile Adhesive Design Mix
- BUY NOW (Directly) – store.lati.care (LATIFIVE – 5% Discount Coupon)
- BUY NOW (Amazon) – Amazon.in
Step 1: Surface Preparation
- Clean the Surface: Thoroughly clean the surface to remove any dust, dirt, grease, or loose particles. Use a broom, vacuum, or damp cloth as needed to ensure a pristine base.
- Dry and Level: Ensure the surface is completely dry and level. Address any cracks, holes, or uneven areas by filling or smoothing them out to create a uniform substrate.
- Prime if Necessary: If the surface is highly porous or challenging to bond, consider applying a suitable primer to enhance adhesion.
Step 2: Mixing TDMX with Cement and Sand
- Measure Ingredients:
- 1 packet of TDMX.
- 70 kg of Quartz or Silica Sand.
- 30 kg of Cement (OPC or PPC).
- Simultaneous Mixing: Combine the TDMX, sand, and cement all at once. Mix thoroughly to ensure even distribution.
Step 3: Adding Water
- Take the Necessary Quantity: After mixing the dry ingredients, take the required amount of the mixture.
- Add Water: Gradually add water to the measured quantity while mixing. Use a mechanical mixer or mix by hand until a smooth, lump-free paste is achieved.
- Consistency Check: Ensure the mixture has a paste-like consistency that can be easily applied with a trowel.
Step 4: Application
- Apply Adhesive: Using a notched trowel, spread the adhesive mixture evenly over the prepared surface.
- Tile Placement: Firmly press the tiles into the adhesive, making any necessary adjustments within the open time.
Step 5: Curing
- Curing Time: Allow the adhesive to cure for about 24 hours before subjecting the tiles to traffic or applying grout.
- Final Check: Immediately clean off any excess adhesive from the tile surfaces to avoid staining.
This approach ensures an efficient mixing process and consistent application for strong, durable tile adhesion.
