Introduction
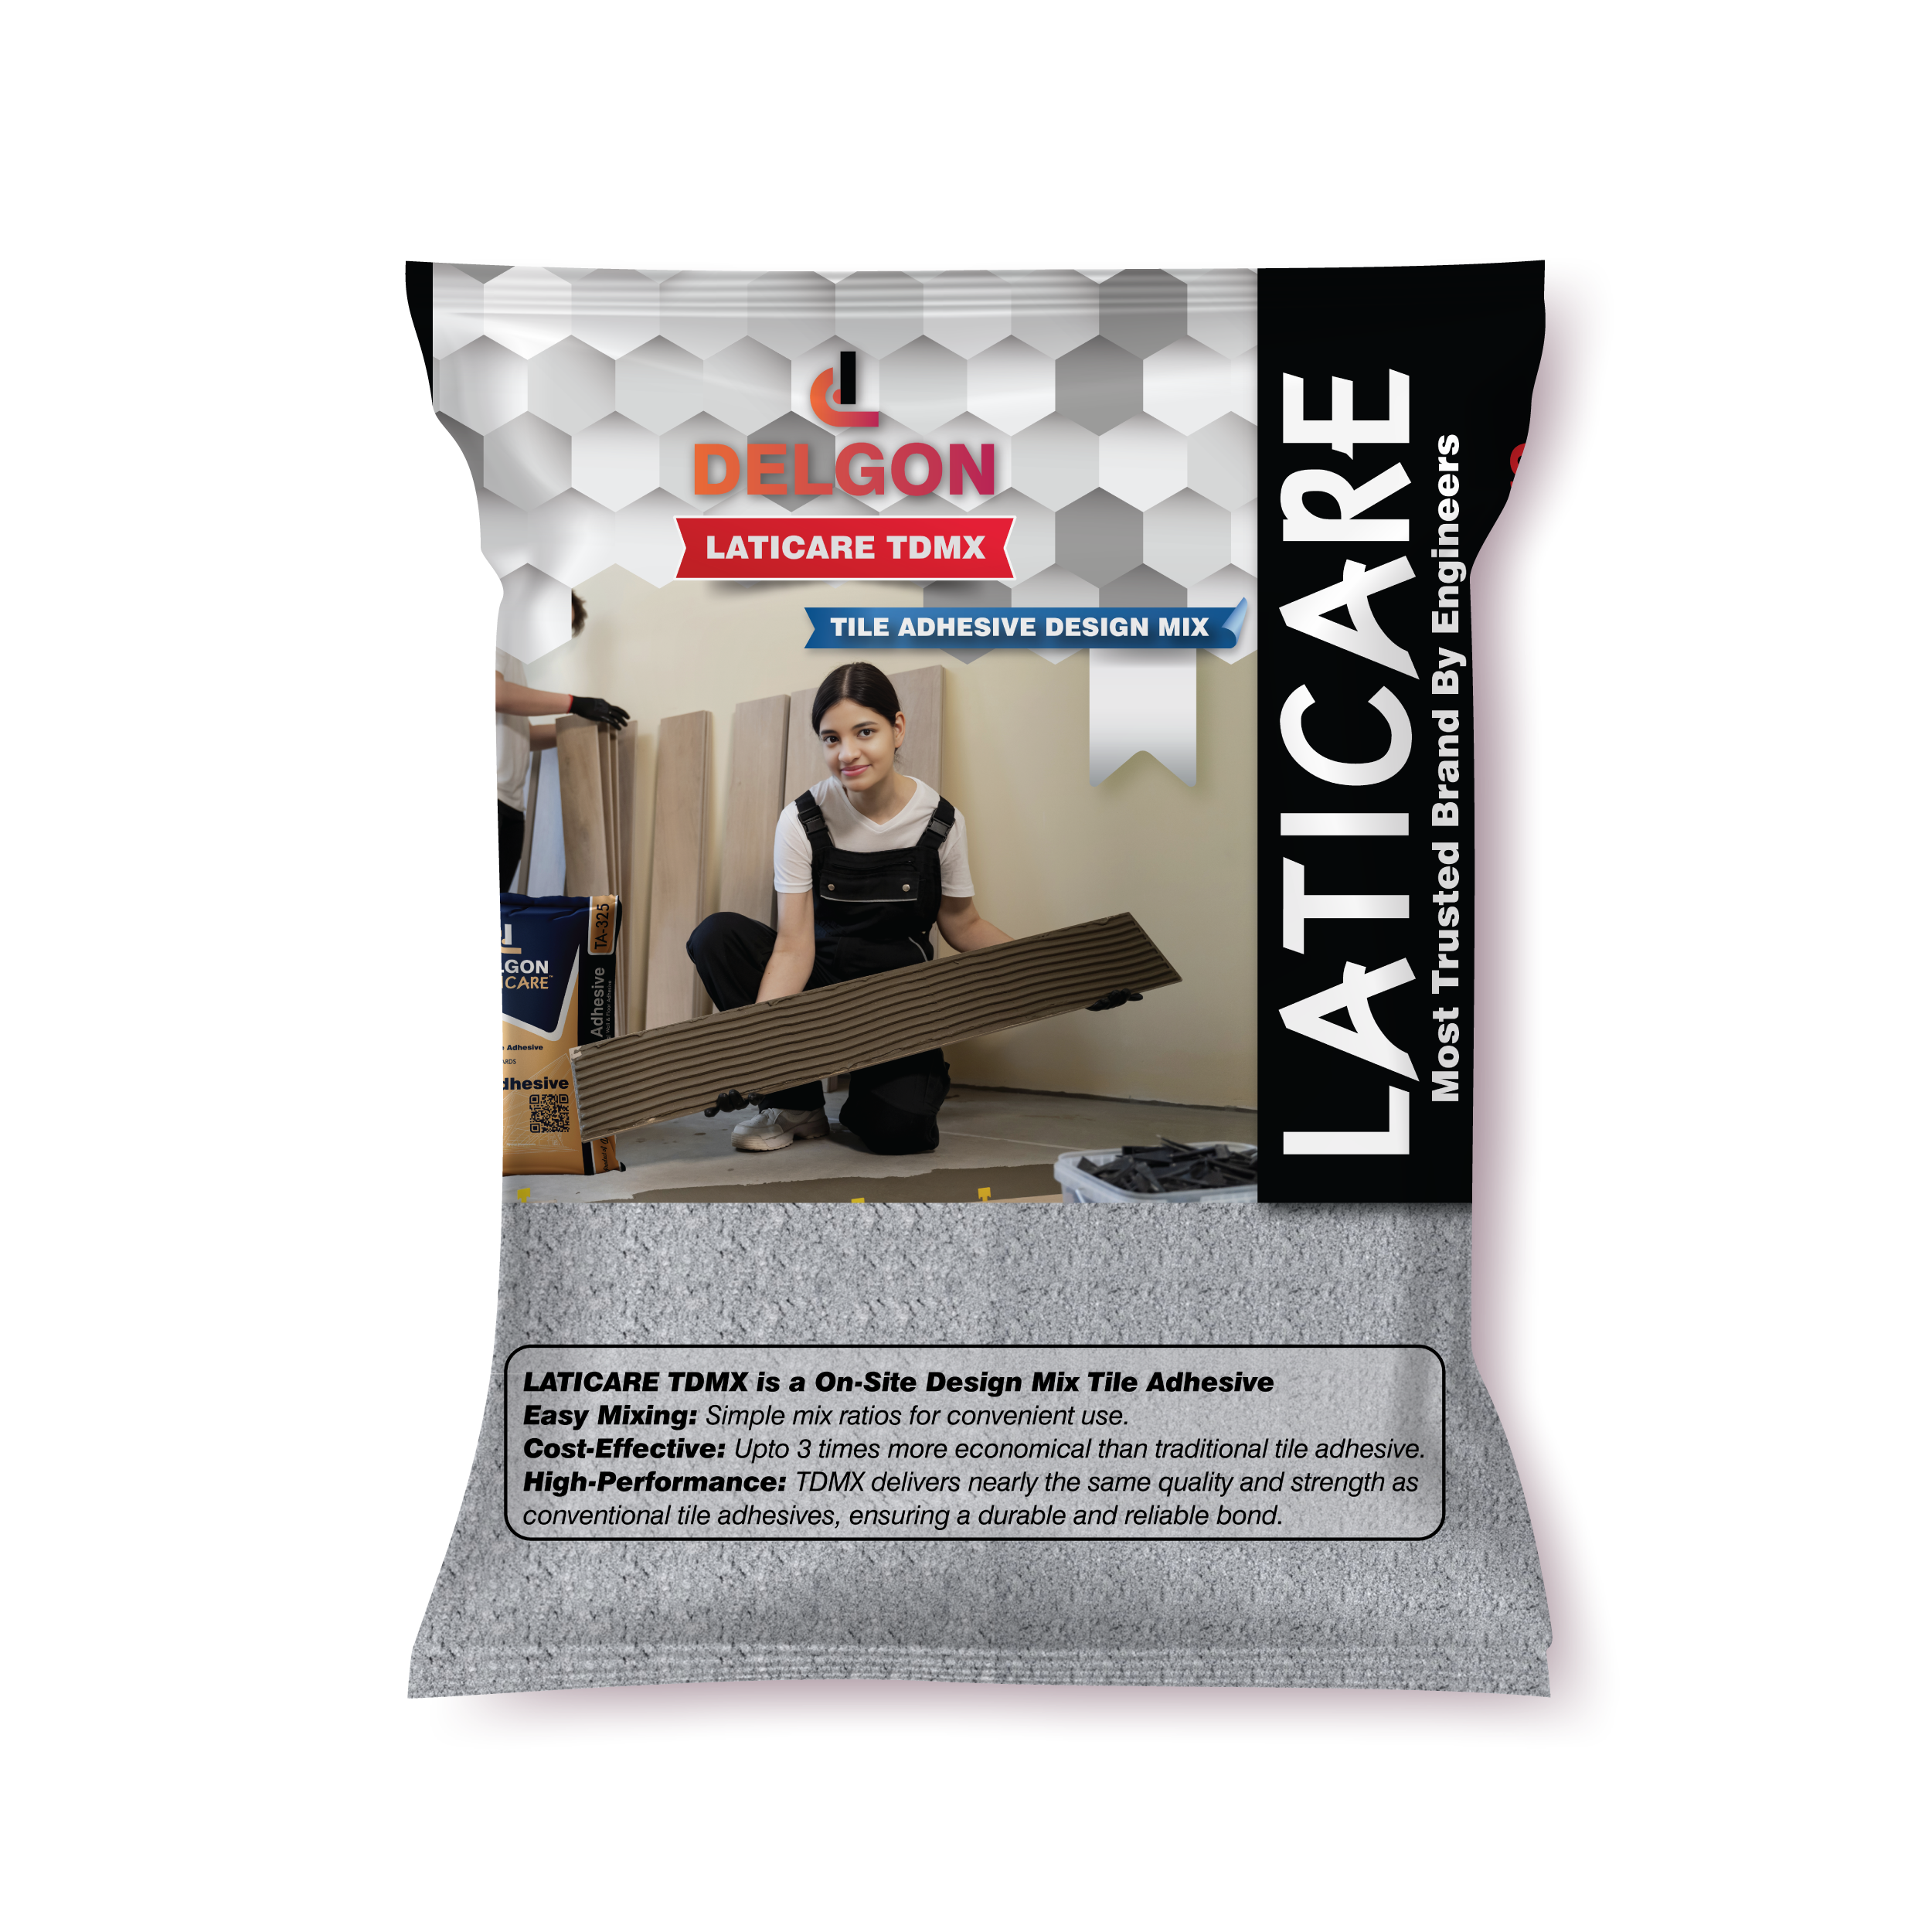
Applying tile adhesive is a critical step in ensuring a successful and long-lasting tile installation. Getting the adhesive application right sets the foundation for secure bonding and prevents issues down the line. In this step-by-step tutorial, we’ll guide you through the process of applying tile adhesive like a pro. Additionally, we’ll introduce you to Delgon Laticare, a reputable company known for its high-quality adhesive solutions.
Step 1: Gather Your Materials
Before you begin, make sure you have all the necessary materials on hand:
- Tile adhesive (compatible with your tile type and application area)
- Notched trowel
- Mixing bucket and paddle
- Clean water
- Sponge or damp cloth
- Level and spacers (if needed)
- Tiles
Step 2: Prepare the Surface
Ensure that the surface you’ll be tiling onto is clean, dry, and properly prepared. Remove any dust, debris, or previous adhesive residues. If the surface is highly porous, consider applying a primer to improve adhesion.
Step 3: Mix the Adhesive
Follow the manufacturer’s instructions to mix the tile adhesive. Delgon Laticare offers a range of adhesive options suitable for various applications. Check the packaging for specific mixing ratios and guidelines. Use a mixing paddle and a clean bucket to achieve a smooth and lump-free consistency.
Step 4: Apply the Adhesive
Use a notched trowel to apply the adhesive onto the surface. Hold the trowel at a 45-degree angle and spread the adhesive evenly. The size of the notches on the trowel will depend on the tile size and type. Delgon Laticare’s adhesive products come with recommended trowel notch sizes, ensuring precise application.
Step 5: Create Notches
After spreading the adhesive, use the notched side of the trowel to create ridges or notches in the adhesive. This step is crucial for achieving proper adhesive coverage and ensuring a strong bond between the tile and substrate.
Step 6: Place the Tiles
Place the tiles onto the adhesive, pressing them gently but firmly into place. If you’re tiling a larger area, work in sections to ensure that the adhesive doesn’t dry out before you can place the tiles.
Step 7: Check for Level
Use a level and spacers to ensure that the tiles are level and properly aligned. Adjust the tiles as needed to achieve a uniform appearance.
Step 8: Clean Excess Adhesive
As you work, periodically check for and remove any excess adhesive that may have squeezed up between the tiles. A damp sponge or cloth can help you achieve clean and neat edges.
Step 9: Allow the Adhesive to Cure
Follow the manufacturer’s recommended curing time before grouting. Delgon Laticare’s adhesive products come with specific curing guidelines to ensure optimal bonding strength.
Step 10: Celebrate Your Professional-Looking Tile Installation
Congratulations! By following these steps and using high-quality adhesive like those offered by Delgon Laticare, you’ve successfully applied tile adhesive like a pro. Your tile installation is on its way to being both beautiful and long-lasting.
Conclusion
Properly applying tile adhesive is a fundamental skill for any successful tile installation project. By following these step-by-step instructions and using reputable adhesive products like those from Delgon Laticare, you’re setting the stage for a professional-looking and durable tile installation that will stand the test of time. Remember, attention to detail during the adhesive application process pays off in the beauty and longevity of your finished project.

